Difference between revisions of "F13: Line Following Robot"
Proj user4 (talk | contribs) (→Hardware Design) |
Proj user4 (talk | contribs) (→Schedule) |
||
| Line 92: | Line 92: | ||
| Begin integration and test of SJ One Board, IR LED Reflectance Sensor Array, and Dual Serial Motor Controller. | | Begin integration and test of SJ One Board, IR LED Reflectance Sensor Array, and Dual Serial Motor Controller. | ||
| | | | ||
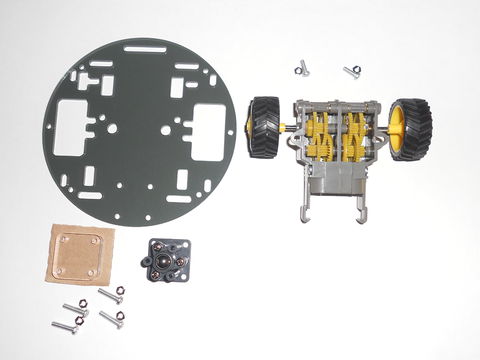
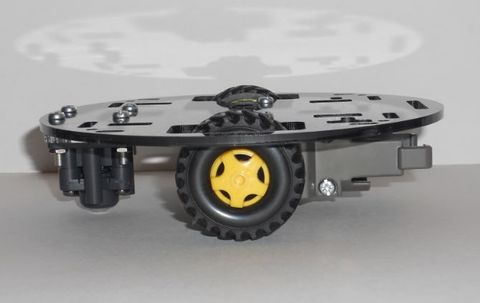
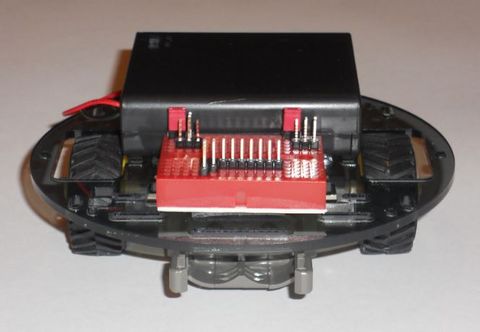
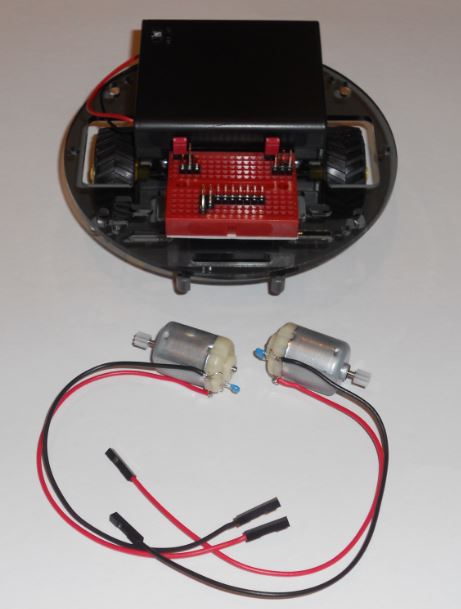
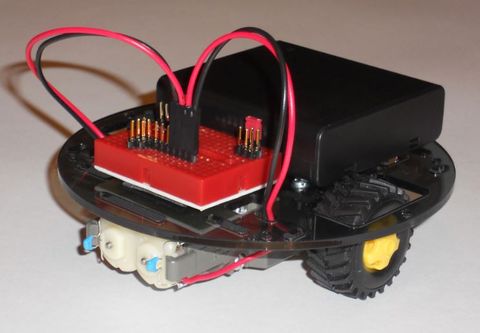
| − | * | + | * Completed physical and electrical layout of components. |
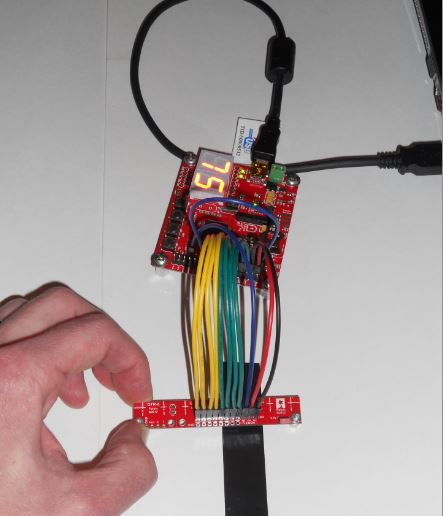
| + | * Began integration and test of SJ One Board, IR LED Reflectance Sensor Array, and Dual Serial Motor Controller. | ||
| + | * The Dual Serial Motor Controller had to be reconfigured to its default configuration of two-motor control with motor numbers two and three. It is unknown whether the Dual Serial Motor Controller was delivered in a non-default state or if initial integration and test efforts corrupted the default configuration. | ||
| + | * The pull-down resistor value for the Dual Serial Motor Controller reset input pin was changed from 4.7 kOhms to 1.0 kOhms in order to produce an appropriate low voltage value. | ||
| + | * The GPIO pin used for reset control to the Dual Serial Motor Controller was changed from pin P2.9 (RXD2 on the SJ One Board) to pin P1.22 due to the pull-up resistors and LED connected to the RXD2 signal line of the SJ One Board. The Dual Serial Motor Controller was stuck in reset prior to the change of pins used. | ||
| + | * The “move forward” function for the Dual Serial Motor Controller had to be modified to send separate control commands for the left and right motors with the same speed setting. The original version of the function sent one control command intended for both the left and right motors; however, a single command sent for both motors was not functioning as described in the Dual Serial Motor Controller User’s Guide. | ||
|- | |- | ||
| align="center"|8 | | align="center"|8 | ||
Revision as of 03:20, 18 November 2013
Contents
Grading Criteria
- How well is Software & Hardware Design described?
- How well can this report be used to reproduce this project?
- Code Quality
- Overall Report Quality:
- Software Block Diagrams
- Hardware Block Diagrams
- Schematic Quality
- Quality of technical challenges and solutions adopted.
Line Following Robot
Abstract
The Line Following Robot detects a black line on a white surface and moves forward following the line. If a black line is not detected, the Line Following Robot moves forward searching for a black line to follow. Once the Line Following Robot detects a black line, it will begin following the black line.
Objectives & Introduction
Show list of your objectives. This section includes the high level details of your project. You can write about the various sensors or peripherals you used to get your project completed.
Team Members & Responsibilities
- Kurt Breault II
- Hardware Design
- Driver Development
- Software Design
- Integration and Test
- Project Documentation
Schedule
Show a simple table or figures that show your scheduled as planned before you started working on the project. Then in another table column, write down the actual schedule so that readers can see the planned vs. actual goals. The point of the schedule is for readers to assess how to pace themselves if they are doing a similar project.
The proposed schedule lists the tasks to be completed each week. The time frame for each task spans from a Wednesday to the following Tuesday. This time frame format was selected to facilitate project progress discussions with the professor at the end of each weekly lecture held on Tuesday.
| Week | Date | Proposed Schedule | Actual Schedule |
|---|---|---|---|
| 1 | 10/02 to 10/08 | Write project proposal. Begin ordering components. |
|
| 2 | 10/09 to 10/15 | Finish ordering components. |
|
| 3 | 10/16 to 10/22 | Generate proposed schedule. Begin physical layout of components. Begin electrical layout of componets. |
|
| 4 | 10/23 to 10/29 | Complete physical layout of components. Complete electrical layout of components. |
|
| 5 | 10/30 to 11/05 | Interface SJ One Board with IR LED Reflectance Sensor Array. |
|
| 6 | 11/06 to 11/12 | Interface SJ One Board with Dual Serial Motor Controller. |
|
| 7 | 11/13 to 11/19 | Begin integration and test of SJ One Board, IR LED Reflectance Sensor Array, and Dual Serial Motor Controller. |
|
| 8 | 11/20 to 11/26 | Complete integration and test of SJ One Board, IR LED Reflectance Sensor Array, and Dual Serial Motor Controller. |
|
| 9 | 11/27 to 12/03 | Write project report. Demonstrate project. |
|
Parts List & Cost
Give a simple list of the cost of your project broken down by components. Do not write long stories here.
Design & Implementation
The design section can go over your hardware and software design. Organize this section using sub-sections that go over your design and implementation.
Hardware Design
Discuss your hardware design here. Show detailed schematics, and the interface here.
Hardware Interface
In this section, you can describe how your hardware communicates, such as which BUSes used. You can discuss your driver implementation here, such that the Software Design section is isolated to talk about high level workings rather than inner working of your project.
Software Design
Show your software design. For example, if you are designing an MP3 Player, show the tasks that you are using, and what they are doing at a high level. Do not show the details of the code. For example, do not show exact code, but you may show psuedocode and fragments of code. Keep in mind that you are showing DESIGN of your software, not the inner workings of it.
Implementation
This section includes implementation, but again, not the details, just the high level. For example, you can list the steps it takes to communicate over a sensor, or the steps needed to write a page of memory onto SPI Flash. You can include sub-sections for each of your component implementation.
Testing & Technical Challenges
Describe the challenges of your project. What advise would you give yourself or someone else if your project can be started from scratch again? Make a smooth transition to testing section and described what it took to test your project.
Include sub-sections that list out a problem and solution, such as:
Wifi Connection Issues
Many wifi connection issues were encountered. To solve this problem, a dedicated task was created to re-connect to wifi if the connection was ever lost.
Conclusion
Conclude your project here. You can recap your testing and problems. You should address the "so what" part here to indicate what you ultimately learnt from this project. How has this project increased your knowledge?
Project Video
Upload a video of your project and post the link here.
Project Source Code
Send me your zipped source code and I will upload this to SourceForge and link it for you.
References
Acknowledgement
Any acknowledgement that you may wish to provide can be included here.
References Used
List any references used in project.
Appendix
You can list the references you used.
