S15: MENL (Monster Encounter Night Light)
Contents
Grading Criteria
- How well is Software & Hardware Design described?
- How well can this report be used to reproduce this project?
- Code Quality
- Overall Report Quality:
- Software Block Diagrams
- Hardware Block Diagrams
- Schematic Quality
- Quality of technical challenges and solutions adopted.
MENL (Monster Encounter Night Light)
Abstract
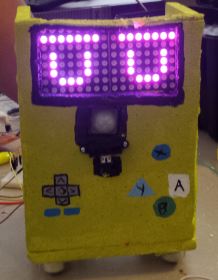
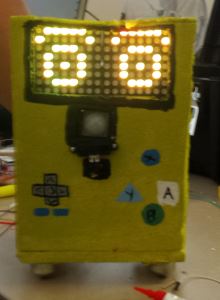
The monster encounter night light will have every single LED on when no motion is detected and no one is within distance of MELN. If someone is approaching MELN, depending on the distance of the object detected, The LED matrix will change into a pair of close eyes or a pair of open alert eyes.
Introduction
The MENL (Monster Encounter Night Light) is a children toy that will display multiple displays on the LED Matrices depending on the location and movement of objects around it. Once MENL had been turn on, the LED matrices will turn all on and dispay a bright white light to simulate a night light that children who are scared of the dark use. If some one is moving around MENL farther then 40 cm, The motion sensor will detect the presence of the moving object and the LED matrices will turn off and switch to the Display of two closed eyes, this simulates the change from night light form to Encounter mode. Once the moving object gets closer between the boundaries of the Distance Sensor, it will change the display to an alert MENL by having its eyes wide open and the color of the eyes change to yellow to emote a warning color.
Objectives
List of Objects to be completed:
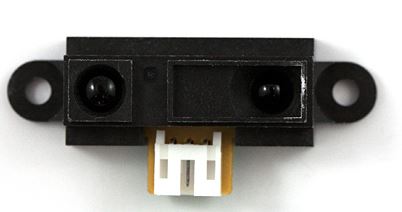
1. Distance Sensor Interface
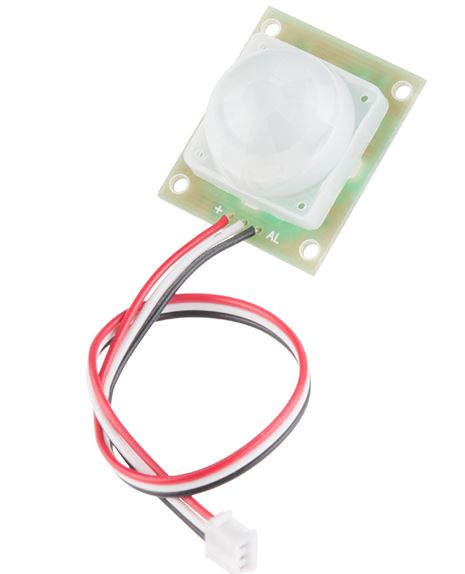
2. Motion Sensor Interface
3. Servo, skeleton rotation(cancelled)
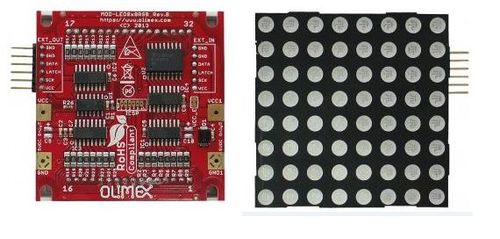
4. LED Matrix SPI Interface
5. LCD Display I2C Interface (cancelled)
6. Communication between Sensors
7. Display result in LED Matrix
Team Members
- Moises Quinteros
- William Hernandez
Schedule
| Week# | Date | Task | Actual | |
|---|---|---|---|---|
| 1 | 4/13 | Order all required parts for project. | Completed, parts should arrive in a couple of weeks. | |
| 2 | 4/20 | Research on Sensors and work on overall design. | Completed. | |
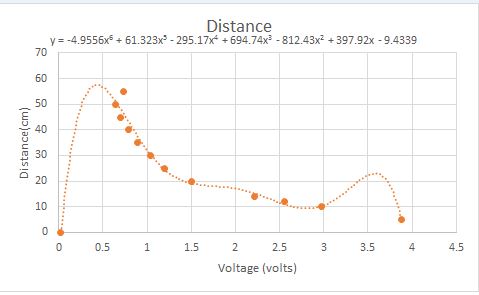
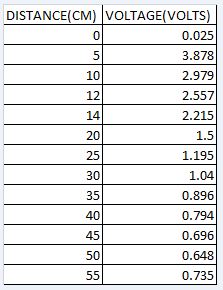
| 3 | 4/27 | Research on Motion and Distance sensor and work on them functioning individually. | Completed, Problems Encountered= Motion Sensor seems to have a timing issues, responding late to motion. Distance sensor needs
an equation to translate the values obtain to centimeters. | |
| 4 | 5/4 | Buy extra LED Matrix, work on LCD display and LED Matrix display. | Completed: no. Problems Encountered: LCD display datasheets does not have the correct Slave Address,
we are working on it. LED Matrix doesnt seem to be displaying correct send Byte. | |
| 5 | 5/11 | Work on Skeleton and putting everything together. | Completed: Half Problems Encountered: LED was fixed, LCD Display does not want to work with correct Slave Address. | |
| 6 | 5/18 | Test, finish anything not yet completed. | Completed: half Problems Encountered: Drop LCD as it wasnt working and drop servo as it was unpredictable and would sometimes spin wildly. |
Parts List & Cost
| Item# | Desctiption# | Price# |
|---|---|---|
| Motion Sensor | PIR Motion Sensor (JST)
SEN-13285 |
$9.95 |
| Distance Sensor | Infrared Proximity Sensor - Sharp GP2Y0A21YK | $13.95 |
| LED Matrices | 2 MOD-LED8x8RGB | $30.50 ea |
| Cables | Female and Male jumper wires | $8 |
| SJ_One Board | SJ_One Board | $80 |
| Bread Board | Regular bread board | $5 |
| Capacitors, resistors , and other components | Multiples items for pull up resistors, power supply and other needs. | varies |
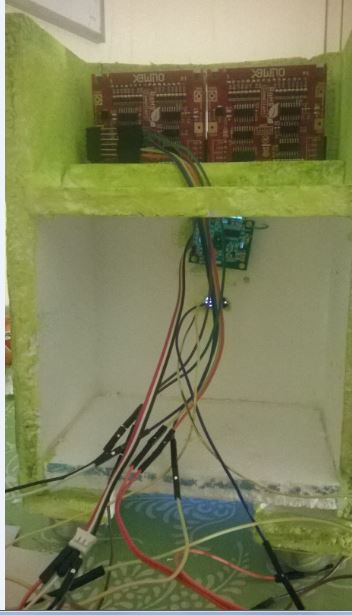
| Skeleton Components | Styro foam, Small Coasters, Screws, Super Glue | $35~ |
Design & Implementation
The design section can go over your hardware and software design. Organize this section using sub-sections that go over your design and implementation.
Hardware Design
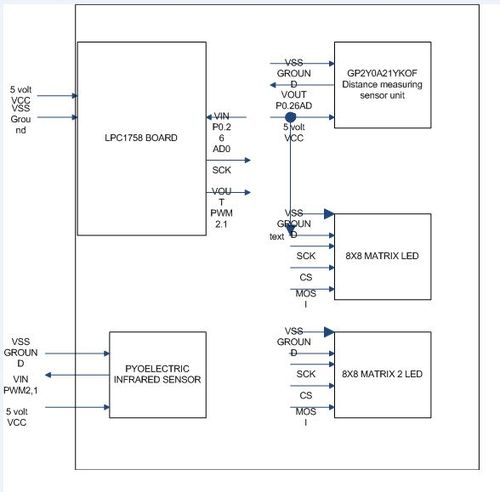
Discuss your hardware design here. Show detailed schematics, and the interface here.
Hardware Interface
In this section, you can describe how your hardware communicates, such as which BUSes used. You can discuss your driver implementation here, such that the Software Design section is isolated to talk about high level workings rather than inner working of your project.
Software Design
Show your software design. For example, if you are designing an MP3 Player, show the tasks that you are using, and what they are doing at a high level. Do not show the details of the code. For example, do not show exact code, but you may show psuedocode and fragments of code. Keep in mind that you are showing DESIGN of your software, not the inner workings of it.
Implementation
This section includes implementation, but again, not the details, just the high level. For example, you can list the steps it takes to communicate over a sensor, or the steps needed to write a page of memory onto SPI Flash. You can include sub-sections for each of your component implementation.
Testing & Technical Challenges
Describe the challenges of your project. What advise would you give yourself or someone else if your project can be started from scratch again? Make a smooth transition to testing section and described what it took to test your project.
Include sub-sections that list out a problem and solution, such as:
My Issue #1
Discuss the issue and resolution.
Conclusion
Conclude your project here. You can recap your testing and problems. You should address the "so what" part here to indicate what you ultimately learnt from this project. How has this project increased your knowledge?
Project Video
Upload a video of your project and post the link here.
Project Source Code
References
Acknowledgement
Any acknowledgement that you may wish to provide can be included here.
References Used
List any references used in project.
Appendix
You can list the references you used.
