S15: Connect Four - Robotic Player
Contents
Grading Criteria
- How well is Software & Hardware Design described?
- How well can this report be used to reproduce this project?
- Code Quality
- Overall Report Quality:
- Software Block Diagrams
- Hardware Block Diagrams
- Schematic Quality
- Quality of technical challenges and solutions adopted.
Artificially-Intelligent Connect Four Robot
Abstract
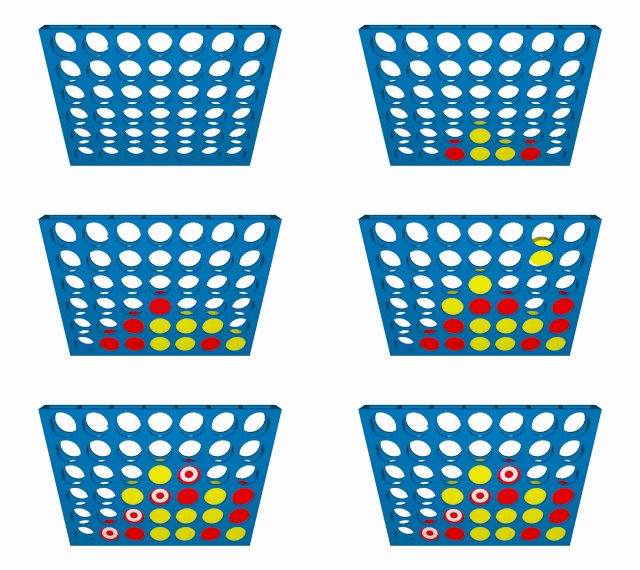
Play Connect Four against an Artificially Intelligent robot with variable difficulty. Prepare to test your ability to think into the future and your proficiency at connecting your pieces against an ideal player. Connect Four
Objectives & Introduction
Show list of your objectives. This section includes the high level details of your project. You can write about the various sensors or peripherals you used to get your project completed.
The objectives of this project is to implement a robotic connect four player with the same capabilities as a human being with respect to the task of connecting pieces by inserting them into one of seven columns at the top of the board. Just as a human can see where his opponent has played his move and can insert his next move into the board, this robot will implement imitations of these basic human abilities.
Team Members & Responsibilities
   Matthew Carlis   (Jack of all Trades) - Hardware/Mechanical,
                                           Artificial Intelligence,
                                           System Architect.
   Alexander Koumis (Image/Driver Guru)  - Drivers,
                                           Image Processing,
                                           Software Interfaces.
Schedule
Show a simple table or figures that show your scheduled as planned before you started working on the project. Then in another table column, write down the actual schedule so that readers can see the planned vs. actual goals. The point of the schedule is for readers to assess how to pace themselves if they are doing a similar project.
| Story# | Points | Task | Description |
|---|---|---|---|
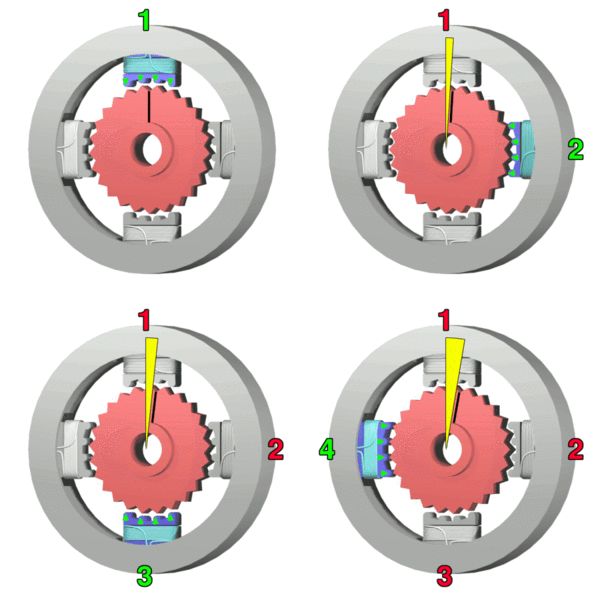
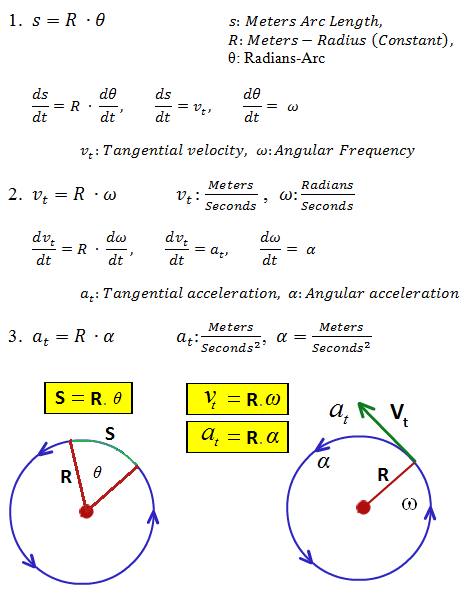
| 1 | 10 | Motor Controller | Write a Stepper motor driver with variable frequency capabilities with constant linear acceleration. This driver should slowly speed up the motor and slowly bring it down while being capable of mapping PWM frequency to pulley frequency. |
| 2 | 10 | Bluetooth Socket. | The LPC1758 will be run in combination with an Intel64 Machine using Bluetooth message passing. The Intel64 Machine will implement the AI programming where the LPC1758 simply tells the Intel64 laptop through Bluetooth where each move is made by the human and is returned the column number of where to insert the robots next piece. The Intel64 Machine will implement a Python program interface for the MiniMax algorithm. |
| 3 | 10 | AI Brain. (It's alive!) | A Python program running on an Intel64 machine will implement the "Brain" of the robot where messages are passed between the LPC1758 and Intel64 Machine through Bluetooth. This program will determine where the robot will insert his next move based on which column the human inserts into as reported through the Bluetooth message protocol. |
| 4 | 10 | Mechanical System. | The mechanical system will include linear slide rails, a stepper motor, timing belt system, the game board, and a platform from which the robot makes his insertions. |
| Week# | Date | Task | Actual |
|---|---|---|---|
| 1 | 4/20 | Task list | Completed: Bluetooth interface, Stepper Motor Driver, Mechanical specs/ordered, AI implementation. |
| 2 | 4/27 | Task list | ToDo: Finish assembling the mechanical, add linear acceleration to motor driver. |
Parts List & Cost
Give a simple list of the cost of your project broken down by components. Do not write long stories here.
| Qty (Extra) | Description | Manufacturer | Cost |
|---|---|---|---|
| 1 | Stepper Motor Driver 3A | SmartSain | $19.99 |
| 1 | Stepper Motor | Lin Engineering | $45.90 |
| 1 | 24V-40W PSU. | CircuitSpecialists | $14.79 |
| 1 | Pixy Camera CMUcam5 | Pixy | $69.99 |
| 1 | XBee Bluetooth | XBee | $27.95 |
| 2 | Timing Pulley's | N/A | $11.95 (each) |
| 1 | Timing Belt | N/A | $9.95 |
| 4 | Linear Rail Guide | N/A | $3.95 (each) |
| 2 | Linear Bearing w/Platform | N/A | $6.95 (each) |
| 2 | 8mm Linear Motion Rail/Shaft Steel | N/A | $15.25 (each) |
Design & Implementation
The design section can go over your hardware and software design. Organize this section using sub-sections that go over your design and implementation.
Hardware Design
Discuss your hardware design here. Show detailed schematics, and the interface here.
Hardware Interface
In this section, you can describe how your hardware communicates, such as which BUSes used. You can discuss your driver implementation here, such that the Software Design section is isolated to talk about high level workings rather than inner working of your project.
- Physical Layer Interfaces
- SPI - Pixy Camera
- Bluetooth - Laptop Communication
- PWM (stepper) - 1 Wire PWM with 2 Control Signals.
- PWM (servo) - 2 Wire PWM.
Software Design
Show your software design. For example, if you are designing an MP3 Player, show the tasks that you are using, and what they are doing at a high level. Do not show the details of the code. For example, do not show exact code, but you may show psuedocode and fragments of code. Keep in mind that you are showing DESIGN of your software, not the inner workings of it.
- Software Architecture.
- MiniMax Algorithm with Alpha/Beta Pruning (Laptop Execution)
- Multi-Task driver environment.
- Message Passing protocols.
Implementation
This section includes implementation, but again, not the details, just the high level. For example, you can list the steps it takes to communicate over a sensor, or the steps needed to write a page of memory onto SPI Flash. You can include sub-sections for each of your component implementation.
Testing & Technical Challenges
Describe the challenges of your project. What advise would you give yourself or someone else if your project can be started from scratch again? Make a smooth transition to testing section and described what it took to test your project.
Include sub-sections that list out a problem and solution, such as:
My Issue #1
Discuss the issue and resolution.
Conclusion
Conclude your project here. You can recap your testing and problems. You should address the "so what" part here to indicate what you ultimately learnt from this project. How has this project increased your knowledge?
Project Video
Upload a video of your project and post the link here.
Project Source Code
- Sourceforge Source Code Link (Project Baseline)
- Robotic Connect Four Branches
- master - Final Implementation of combined features.
- motor - Stepper Motor Driver Code Implementation.
- pixy - Pixy Camera Driver implementation.
- xbee - Bluetooth Xbee Driver Implementation
References
Acknowledgement
Any acknowledgement that you may wish to provide can be included here.
References Used
List any references used in project.
Appendix
You can list the references you used.


